Ever struggled to find the perfect packaging that keeps products fresh and stands out on the shelf?
Stand up pouches with zippers and barriers1 offer an ideal solution by combining durability, convenience, and attractive presentation.
Let me share how these pouches transformed my packaging approach and boosted customer satisfaction.
Table of Contents
- What is the difference between a flat pouch and a stand-up pouch?
- How do you seal stand up pouches at home?
- What are the advantages of stand up pouches?
- How are stand up pouches filled?
- Conclusion
What is the difference between a flat pouch and a stand-up pouch?
Choosing the right pouch can be confusing with so many options available.
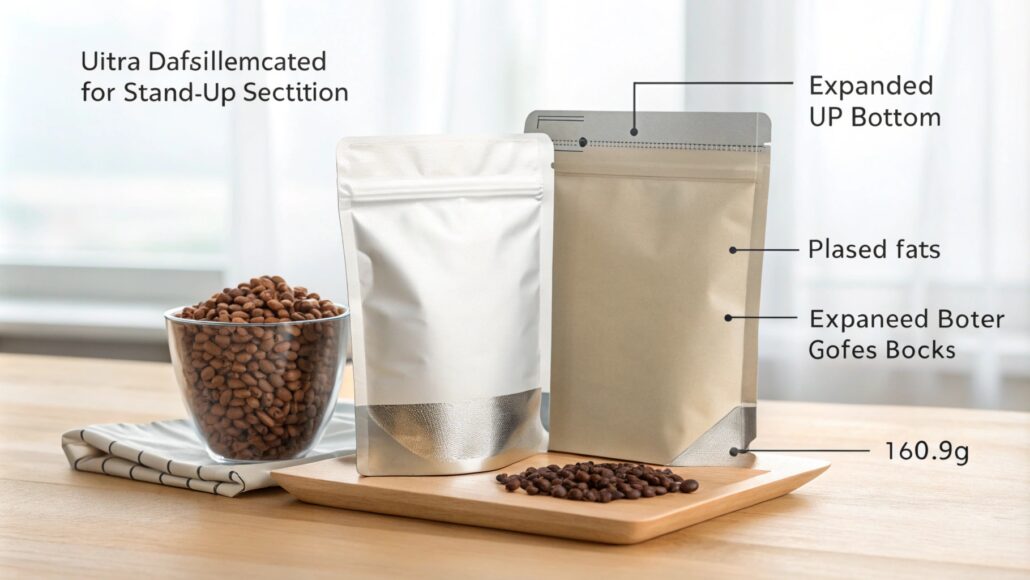
The main difference2 lies in their structure: stand-up pouches have a bottom gusset that allows them to stand upright, while flat pouches do not, affecting both capacity and display.

Design and Structure
Stand-up pouches feature a bottom gusset that expands, enabling them to stand on their own. Flat pouches are sealed on all sides and lay flat.
Comparison Table
| Feature | Flat Pouch | Stand-Up Pouch |
|---|---|---|
| Bottom Gusset | Absent | Present |
| Display Position | Lays flat | Stands upright |
| Storage Capacity | Limited | Expanded |
| Shelf Appeal | Minimal | High |
| Suitable For | Small items, samples | Bulk items, liquids |
Functional Benefits
Stand-Up Pouches
- Enhanced Visibility3: Stands upright, catching customer attention.
- Increased Capacity: Bottom gusset allows more product to be packed.
- Better Branding: More surface area for designs and labels.
Flat Pouches
- Space-Efficient4: Ideal for single-use items.
- Cost-Effective: Less material used in production.
By switching to stand-up pouches, I noticed a significant improvement in product visibility and customer interest.
How do you seal stand up pouches at home?

Worried about sealing stand-up pouches without professional equipment?
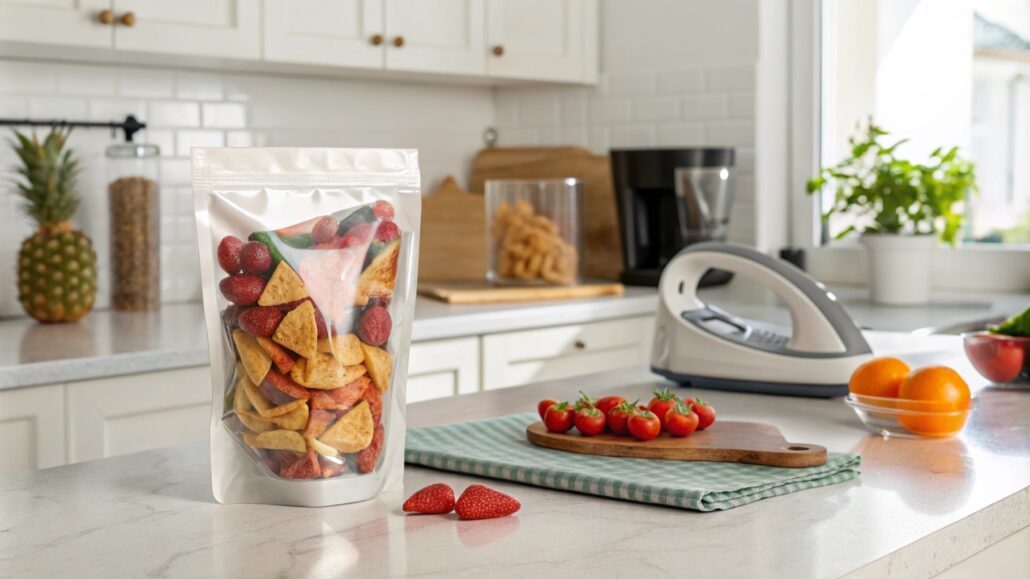
You can easily seal them at home5 using household items like a flat iron, clothes iron, or a simple heat sealer for an airtight finish.
Simple Sealing Methods
Using a Flat Iron
- Prepare the Pouch: Fill it with your product, leaving about an inch at the top.
- Set the Temperature: Medium heat works best.
- Seal the Pouch: Press the flat iron across the top for 3-5 seconds.
Using a Clothes Iron
- Fill the Pouch: Ensure there’s enough space to seal.
- Protect the Pouch: Place a piece of parchment paper over the sealing area.
- Iron the Seal: Apply medium heat for a few seconds.
Using a Heat Sealer
- Turn On the Sealer: Allow it to heat up.
- Align the Pouch: Place the open end under the sealer.
- Seal It: Press down for a couple of seconds.
Tips for Effective Sealing
- Clean Edges6: Ensure no product residue is on the sealing area.
- Proper Heat: Too much heat can melt the pouch; too little won’t seal it.
- Test the Seal: Gently squeeze the pouch to check for leaks.
By sealing pouches at home, I maintained product freshness without investing in expensive equipment.
What are the advantages of stand up pouches?

Looking for packaging that offers more than just containment?
Stand-up pouches provide versatility, user convenience, and eco-friendly options7, making them a superior choice for many products.
Versatility and Convenience
- Suitable for Various Products: From dry goods to liquids.
- Resealable Options: Zippers and spouts for easy access.
- Portability: Lightweight and space-saving.
Examples of Use
- Food Items: Snacks, coffee, tea.
- Non-Food Items: Pet food, detergents, cosmetics.
Environmental Benefits
- Reduced Material Use8: Less packaging material compared to rigid containers.
- Recyclable Materials: Many stand-up pouches are made from recyclable plastics.
- Lower Carbon Footprint: Lighter weight reduces transportation emissions.
By choosing stand-up pouches, I not only enhanced my product’s appeal but also took a step towards sustainability.
How are stand up pouches filled?

Unsure about the filling process for stand-up pouches?
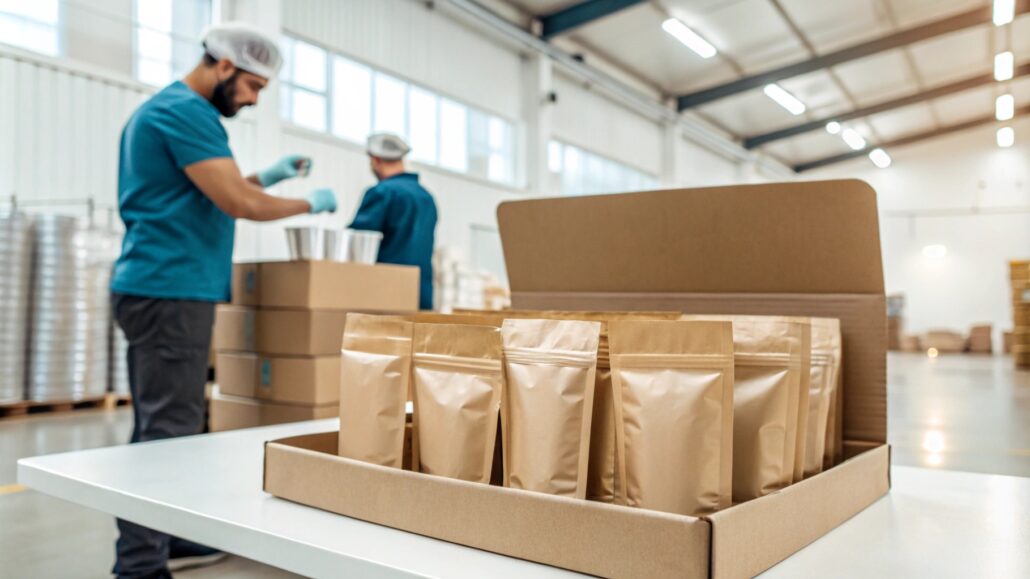
They can be filled manually or using automated machines9, accommodating both solids and liquids efficiently.
Manual Filling Techniques
- Open the Pouch: Expand the bottom so it stands upright.
- Fill with Product: Use a scoop or funnel.
- Settle the Contents: Gently tap to remove air pockets.
- Seal the Pouch: Use one of the home sealing methods.
Advantages
- Cost-Effective: No need for expensive machinery.
- Flexibility: Ideal for custom or small-batch products.
Automated Filling Processes
- Setup Machine: Adjust settings for pouch size and product type.
- Load Pouches: Machine feeds pouches into position.
- Fill Product: Precise amounts dispensed automatically.
- Seal and Finish: Pouches are sealed and ready for packaging.
Benefits
- Efficiency: Higher output for large orders.
- Consistency: Uniform fill levels and sealing.
Considerations for Liquids
- Spout Pouches: Designed specifically for liquids to prevent spills.
- Specialized Equipment: Pumps and nozzles used for clean filling.
By automating the filling process, I increased productivity and met growing demand without compromising quality.
Conclusion
Switching to stand-up pouches with zippers and barriers revolutionized my packaging, offering practicality and enhancing product appeal.
A detailed explanation of stand-up pouches helps users understand their unique features and benefits compared to other packaging types. ↩
Offers a clear comparison for users unsure about which pouch type suits their needs, focusing on capacity, structure, and shelf appeal. ↩
Provides readers with in-depth guidance on using a heat sealer effectively to maintain product freshness and prevent leakage. ↩
Offers insights into sustainable options for stand-up pouches, appealing to environmentally conscious users. ↩
Explains the ecological advantages of pouches, such as reduced material use and lower transportation emissions. ↩
Helps readers understand the special design features of spout pouches for liquids and how they differ from regular pouches. ↩
Offers insights into the pros and cons of both methods, helping readers decide based on batch size, cost, and efficiency. ↩
Details the benefits of resealable pouches, including convenience for users and extended product freshness. ↩
Explains the design and functionality of bottom gussets, showing how they enhance capacity and enable pouches to stand upright.

